
Vintage Lace Wedding Invitations


My mind has been full of wedding preparations over the last few months so I thought it was only fair to share some of my latest (wedding themed) crafts.
First on the agenda was invitations. We had never wanted a long drawn out planning process which is why we have booked everything in quick succession and the big day is only 5 months away! I have never been very good at waiting for exciting events to arrive...so, as soon as we had sorted the venue I got straight down to the business of stationery.
I managed to source some excellent cardstock from a wholesale website I tracked down. I selected broderie anglaise 'DL' style invitations with matching envelopes. For the card inserts I chose a gold colour on which I mounted the wedding details which I had printed on speciality engrossment paper. I just did this on my laptop on word, I sourced free font downloads to give my text something a bit different.
I was most excited about the finishing touches which were:
* Lace (not pictured) wrapped around each invitation
* Ribbon and pearl embellishment on the front of the invites
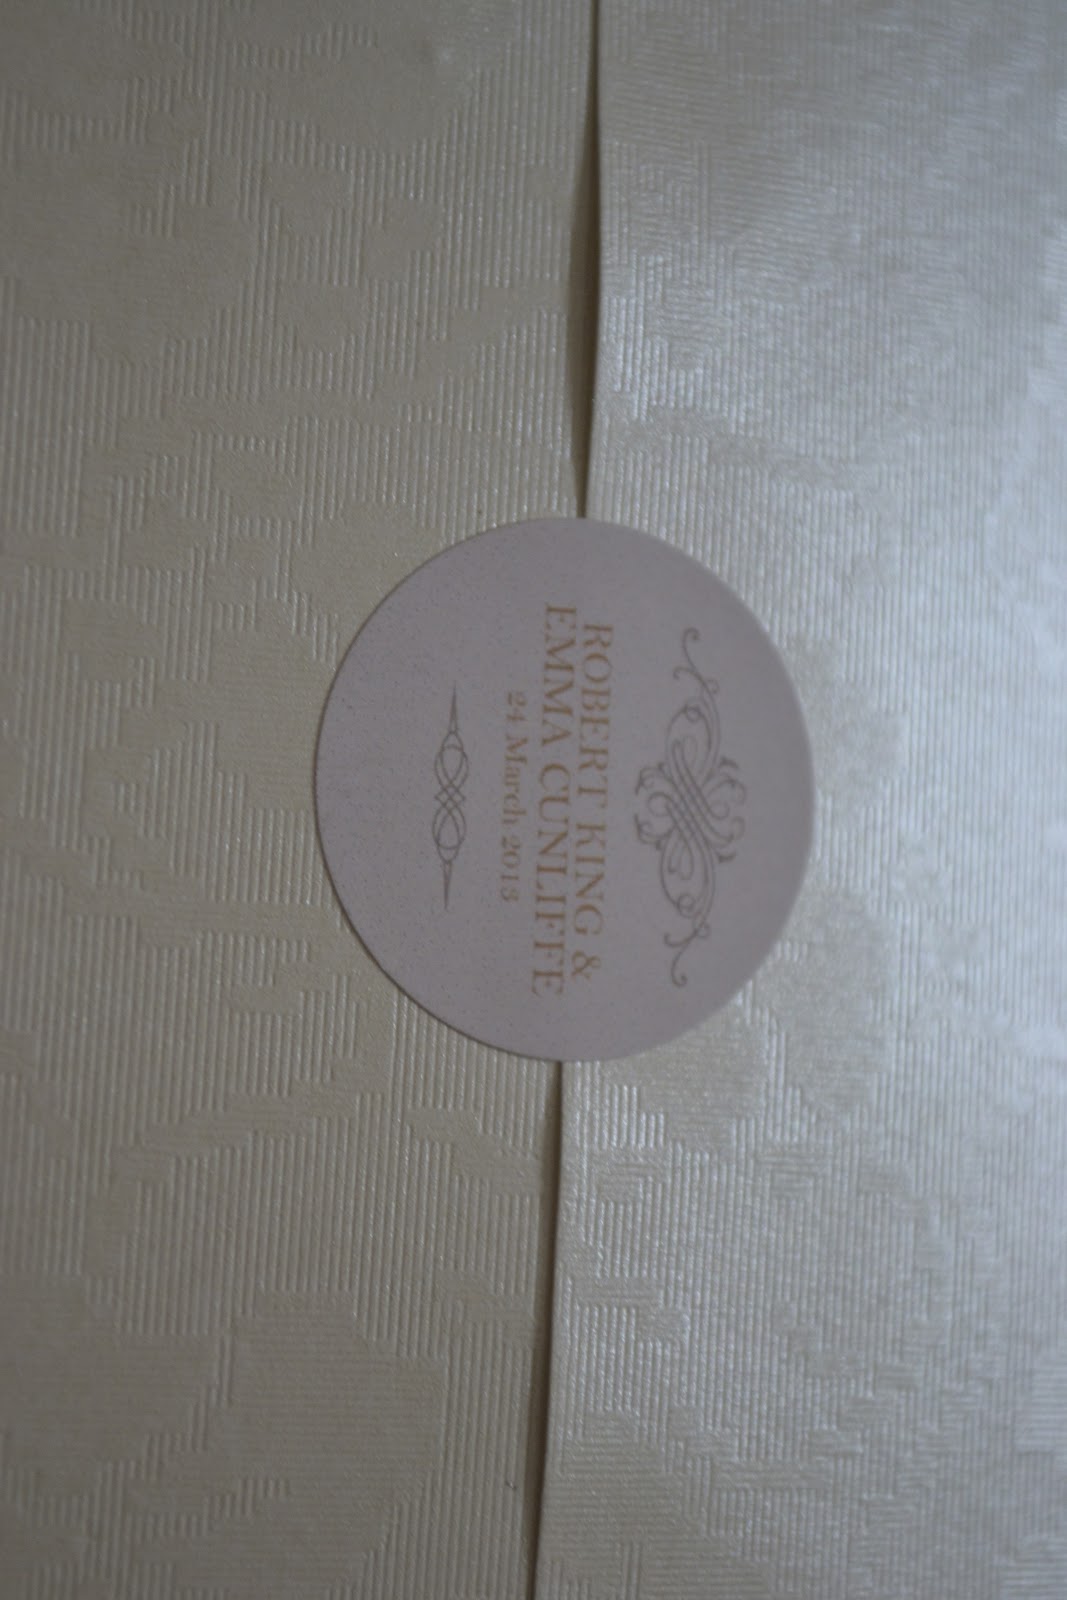
* Personalised stickers (sourced from eBay) which sealed each envelope.
It occurred to me that many of you reading my blog may also be planning your wedding and may want some inspiration and tips on how to create a professional looking invitation.
The tools I used are:
 * Craft knife (Stanley or something similar)
* Glue Gun
* Double sided tape
* Snips/scissors

* Guillotine
* Lace/Ribbon
* Pearl adhesive dots
* Ruler
* Pritt Stick
1. Take the DL which is the 'pocket' to hold your card inserts. Imagine your high street voucher card which comes in a card pocket with a thumb hole to pull out the voucher. This is the idea behind this type of invitation. You may alternatively choose a pocket fold or more basic form of card design. This comes flat pack when you order wholesale i.e. you need to fold in each flap and stick it together. I used double sided tape along each side using a small piece to secure the ribbon inside the card to ensure it isn't visible on the outside. I have also seen tutorials where people have purchased tape guns which seem quite fun but sadly I had a tight budget so had to improvise.
2. Cut down your printed paper using the guillotine. The paper will have been printed with details of your wedding. We chose one card insert stating ' We invite you to join us......etc at 1pm at.....' and then a second insert providing details of the venue, local hotels, and gift information.
3. Mount all cut down paper onto gold (or your chosen colour!) card inserts. Trim card inserts to desired size.
4. Apply pearl adhesive dot for decoration.
5. Using the glue gun, fix on any embellishments to the outside of the DL pocket.
6. The envelopes should be good to go (gladly) so pop your finished invitation in the envelope and seal with personalised label! We printed off address labels on the computer for that extra touch.
I don't know whether this is going to be of any use to you without more detailed pictures but hopefully I have made you realise how easy it is to craft your own invitations! I am pleased to report that the other half got fully involved and now considers the glue gun as his new best friend! ;) Smiles all round.
I will post more wedding craft ideas soon! I am currently getting carried away with sourcing vintage suitcases and making bunting.
Over and out.